Something we had to do was open the kitchen up to the family room and that was a bit of a challenge. One of the major issues I've consistently run into over the past months has been the that the prior owner was a bit of a remodeler himself but he appeared to not concern himself with small things like sufficiently supporting the structural changes he made, caring whether plumbing and electrical were to code (or even remotely adequate) or even that walls and floors were plumb and level. Fixing this guy's work has been somewhat of a challenge.
After taking down the drywall and pulling up the flooring around the wall I needed to remove, it became apparent that the former owner had worked his "magic" on this part of the house. He had removed a post that was holding up the ceiling and the ceiling was being held up literally by drywall screws and very thin sheet metal strips. With the drywall removed I could begin to decipher the electrical and it was a mess - basically all the appliances and wall plugs were being supplied by a single 20 amp circuit and some of the wiring was 14/2 Romex (meaning it's not rated to carry 20 amps). The sink drained slowly and I suspected a clog; what I found after jackhammering up the slab surprised even me. The 2" cast iron drain pipe had been crushed and any water that was going down the sink drain was ending up under the slab. I suspect this has been the case since the day the house was built which meant 50 years of crud and gray water had accumulated under the slab. These are some of the things you run into when remodeling so think hard about taking on a job like this.
But with the new plan in place and all the problems identified we got to work. Beth took on specifying all the products we'd use (something she has a remarkable talent for) and I got dirty crawling around in the attic chasing down wiring and digging up plumbing lines. While I don't dislike this type of work there is a distinct lack of a sense of accomplishment because all you're doing is putting in things that nobody will ever see or ever think twice about, unless of course it doesn't work. C'est la vie.
But with the drainlines in and plumbing supply lines run to the sink in the new island, the electrical revamped (a separate circuit for each appliance and wall outlets), windows moved about and drywall installed it was time for the fun stuff.
Beth chose Ikea cabinets - off white for the cabinets around the wall and black for the island. We'd decided long ago to do the countertops in concrete which was something I'd been researching extensively. The technology has changed quite a bit since my first foray in concrete tops in my Reno house renovation in 2001. Beth had her heart set on a Wolf stove which are way cool (red knobs) but ungodly expensive. We eventually found a used one up in Thousand Oaks that we bought from a chef who was moving back to Europe. He even threw in some sausage (yum). Ebay and Craigslist were the source of our refer, range hood, dishwasher, stainless steel farmer's sink, sink faucet and just about everything else you might need. Beth decided to add subway tile for a full height backsplash which were incredibly cheap (Lowes) but look great. I added some custom touches with a crown treatment at the upper cabinets, open shelving with an industrial look flanking the range hood (which I initially fought Beth on but eveentually gave in and now I'm glad I did), a stainless steel recessed panel wainscot at the island back and a chalkboard backsplash at the desk. I'll write more about the experience with the Ikea cabinets and precasting the concrete countertops but for now I'll just have to say that both experiences we quite rewarding. The concrete tops might be the best thing I've ever built.
Cost-wise I'd say we did great. Here's a breakdown of what we spent:
Demolition and Dump Fees - $300
Concrete Floor Repair - $100
Framing - $200
Electrical - $200
Recessed Lighting - $225
Pendant lights - $175
Plumbing - $750
Drywall - $175
Paint - $50
Cabinets - $4,000
Concrete Counters - $900 (includes the casting table I made in the garage)
Stove - $3,700
Micro - $600 (Ikea)
Range Hood - $300
Dishwasher - $175
Refrigerator - $1650
Flooring (laminate) - $400
Miscellaneous - $500
Total - $14,400
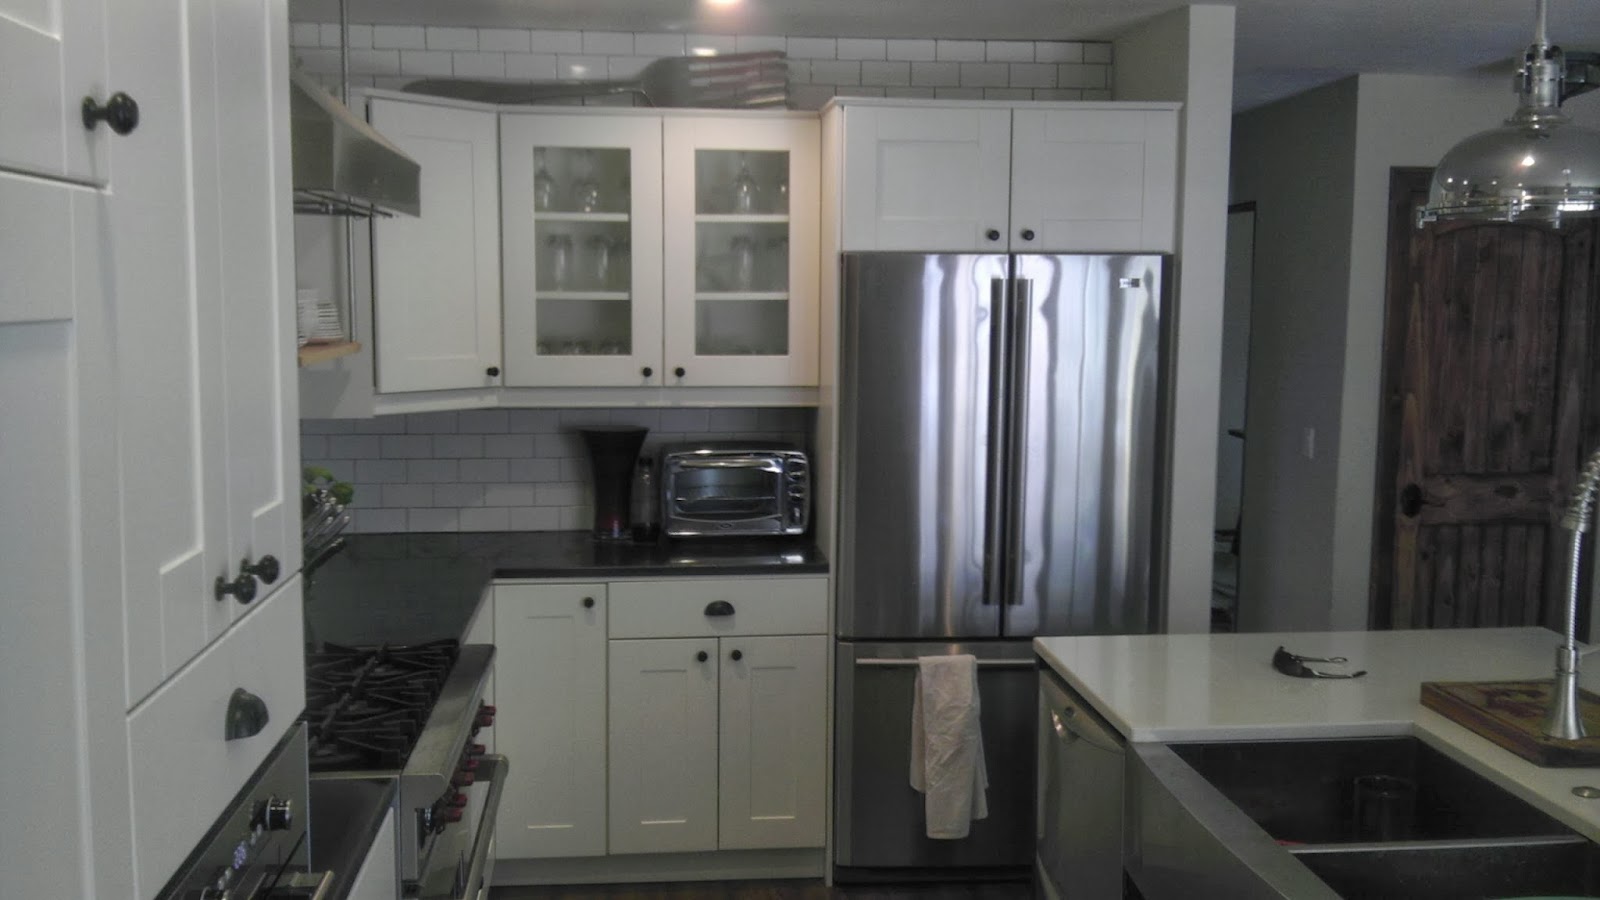
Here are a few pics of how the kitchen turned out (Sorry for the lousy camera phone pics).